Overview
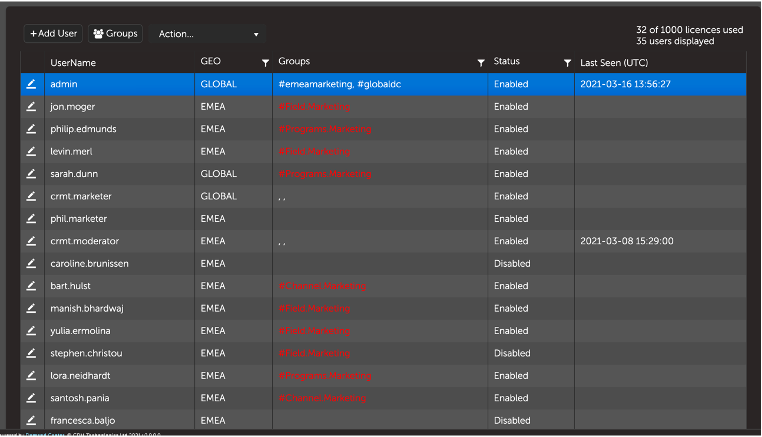
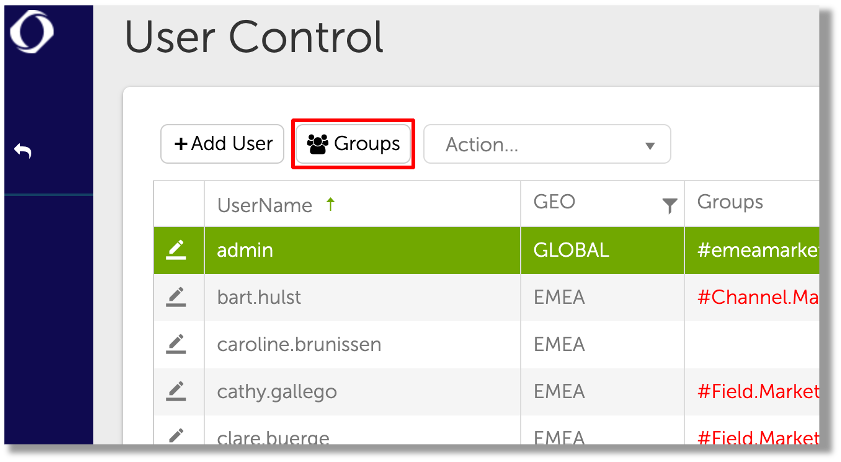
- You’ll see that we have now added the user control to the configuration menu.
- This will allow for less clutter on the user dropdown.
- The user control is now smarter, more intuitive and easier to use in version 2.9 with the addition of filtering, groups control and more.
User Invite Process
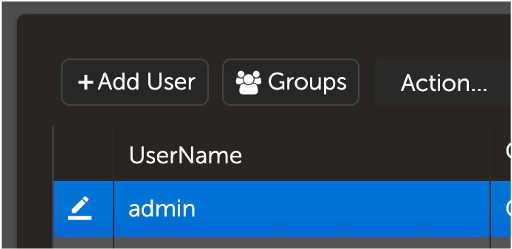
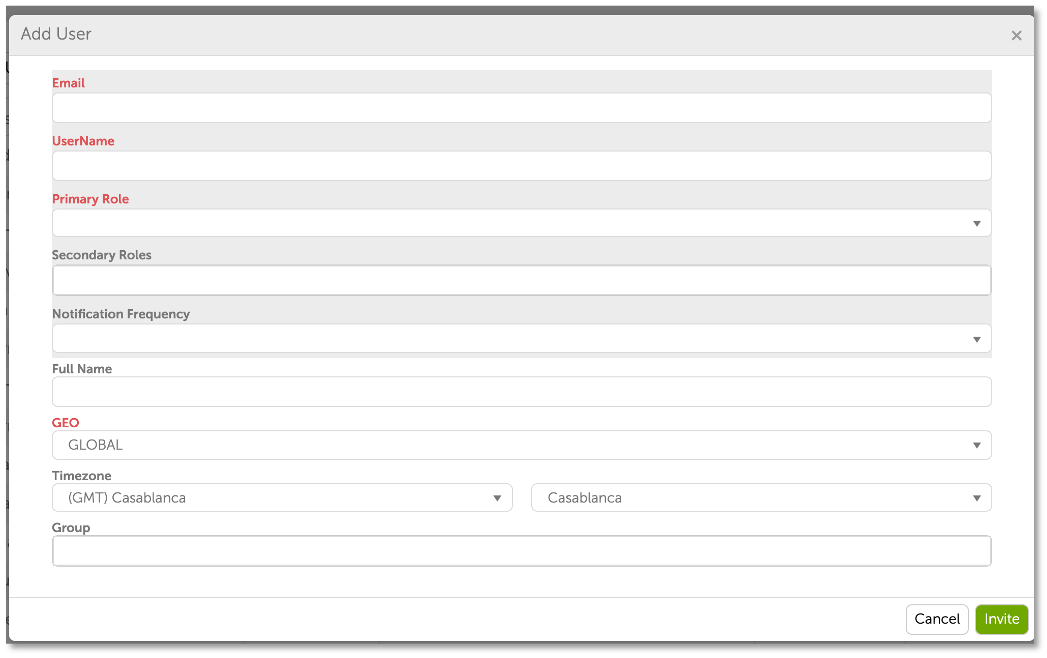
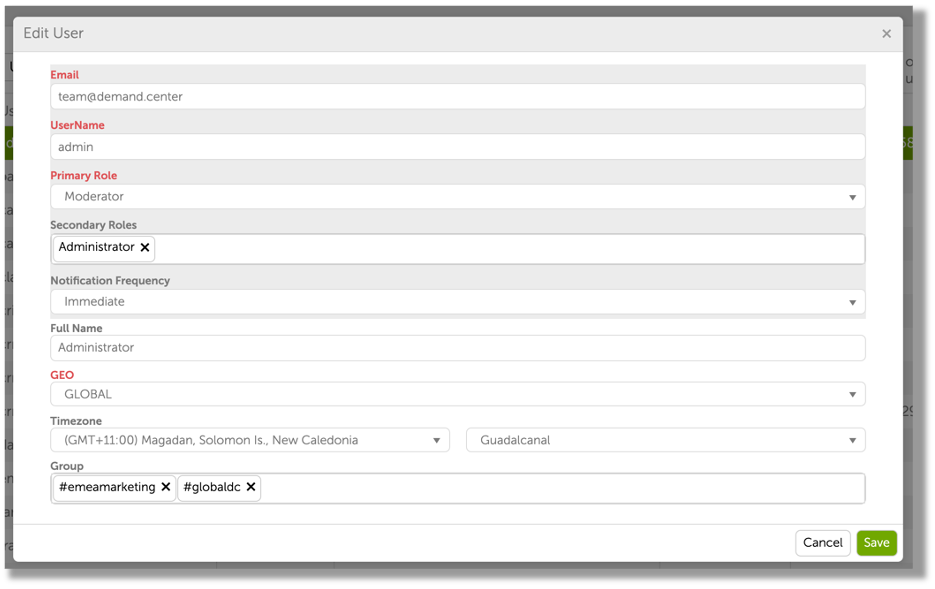
- To add a user, start by clicking the ‘Add User’ button and fill in all the fields – especially the required fields.
- The require fields are:
- Email Address
- Username – this is normally the start of the users email address
- Primary Role – Moderator/Marketer
- GEO – Global, EMEA, APAC, NAMER.
- Other fields are:
- Secondary Roles – Administrator/ Playmaker
- Notification frequency
- Full Name
- Timezone – defaulting to GMT
- Group
Editing Users
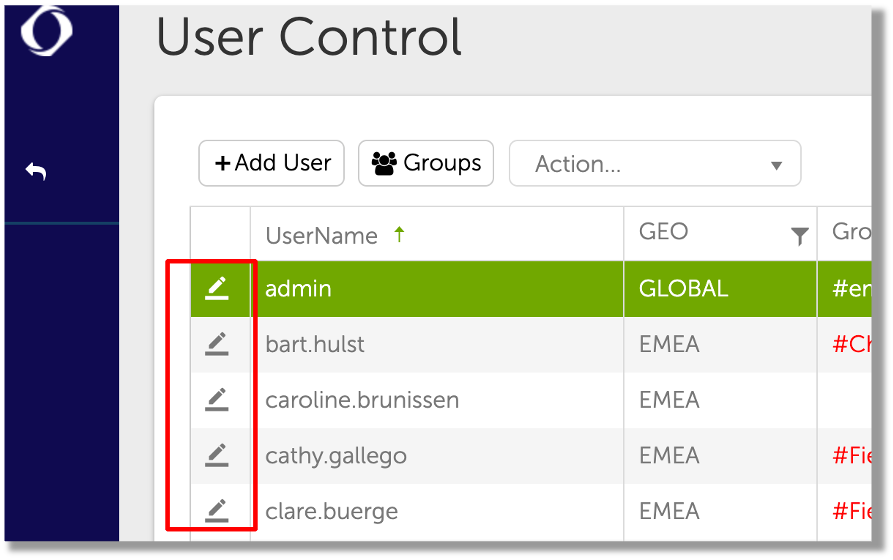
- If you want to edit users, just click the pen and paper icon on the left-hand side.
- This will bring up the user record and you can edit from the window.
Groups Control
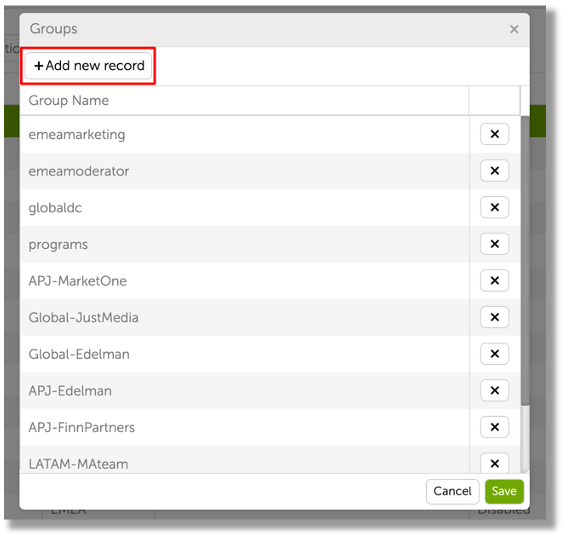
- Click the ‘Groups’ button to display the groups window
- You’ll see all of the groups that have been created here, if you want to create a new group you need to click ‘Add new record’
- This will add another free text field to the list – groups must start with the hashtag (‘#’) button.
Bulk Editing & Actions
- You can select more than one user by either using Ctrl+Click or Shift+Click
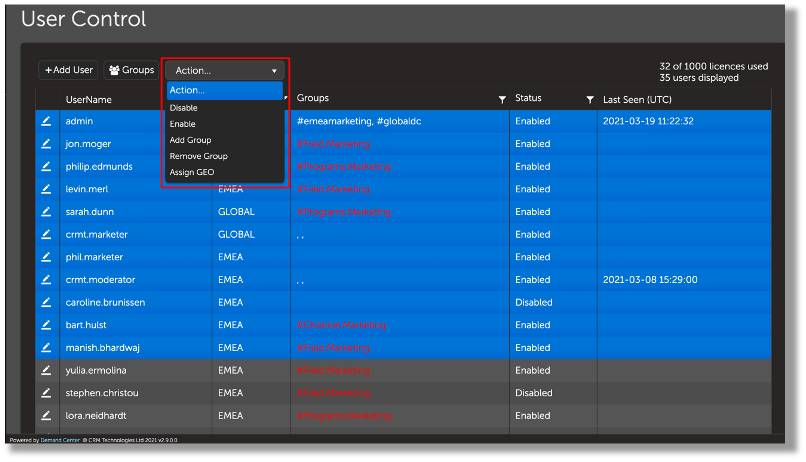
- The ‘Action’ button will appear if one or more users are selected
- Actions include:
- Disable – disables selected users, users will not be able to access the platform
- Enable – revives disabled users so they can access DC again
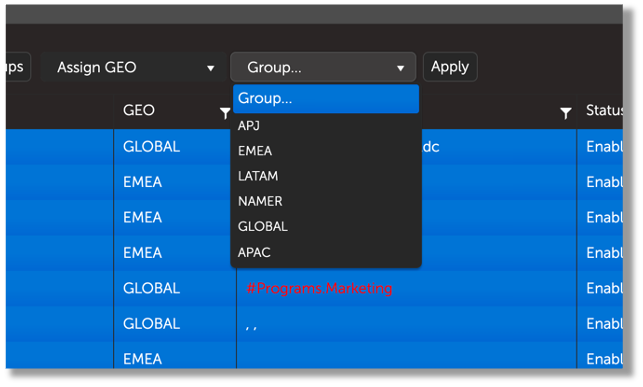
- Add Group – Adds a specified group to all selected users
- Remove Group – removes specified group from the selected users
- Assign GEO – assigns a GEO to selected users that is specified by you
Filtering Down
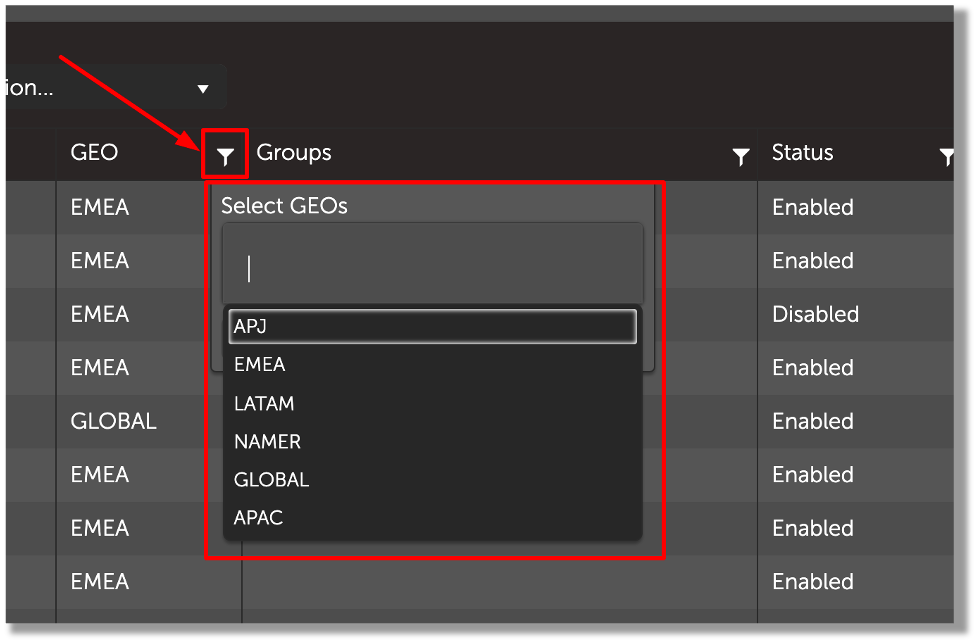
- Click the filter button beside the column title
- Then you can start typing an option and the dropdown will appear
- You could also click the text box and the dropdown will appear with all options

